Installing Water and Sewer Lines
Utilities are something you'll have to connect to your new home under construction. This includes installing water and sewer lines as well as electrical service. We choose to do this early in the project since we had already paid the fees and we wanted to have running water and a toilet on-site as quickly as possible. This can save you some money in not having to rent a port-a-potty during your entire construction phase. Installing water and sewer lines is something almost anyone can do. Many times these utilities are already stubbed to the curb for you. If so that makes this task even easier. We ended up having to tap our own line off of the main water line but even that wasn't too difficult.
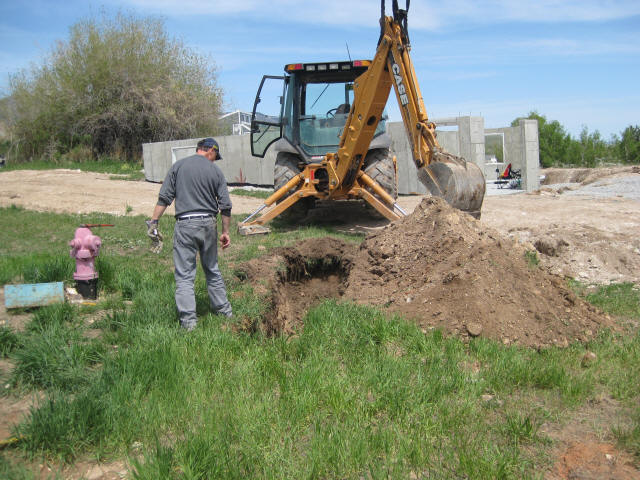
The first thing you'll want to do is call blue stakes, that's what it's called in Utah, and have them mark the utility locations on the ground. We then hired someone locally with a backhoe to dig a trench from the curb to the cabin for our water line.
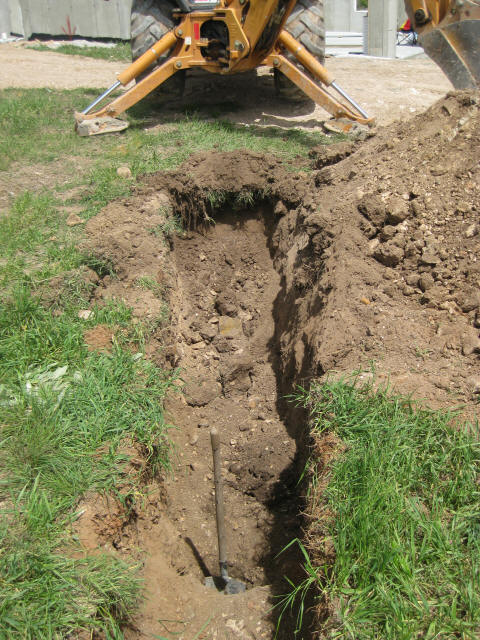
Once you get pretty close to the water line you will want to find it by hand. We did this as shown above and put the shovel in the hole so the backhoe would know where to work from.
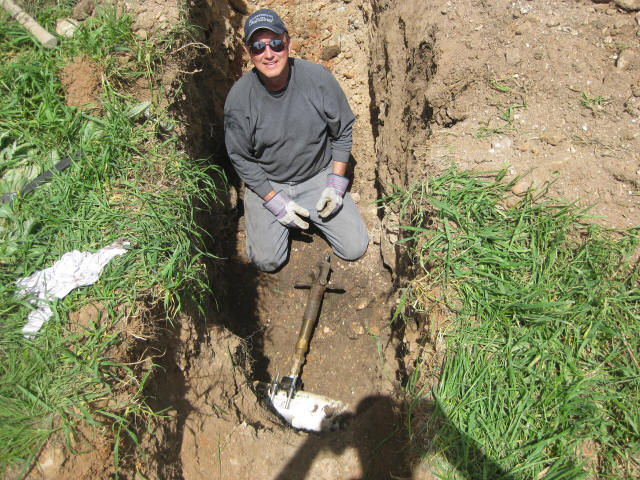
Once we cleared enough room, the next step to installing our water line was to use a hand held tapping machine to tap into the main 8" water line. The city water department was kind enough to let us borrow this gadget. It's actually fairly easy to use and allows you to tap into a pressurized water line.
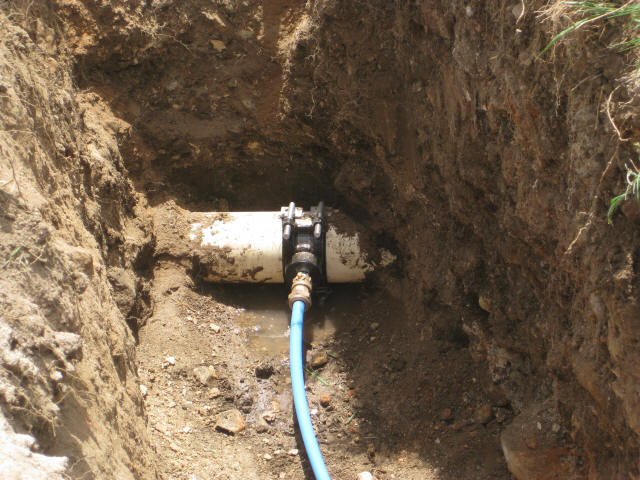
Here is the finished product with a 1" line tapped off of the main.
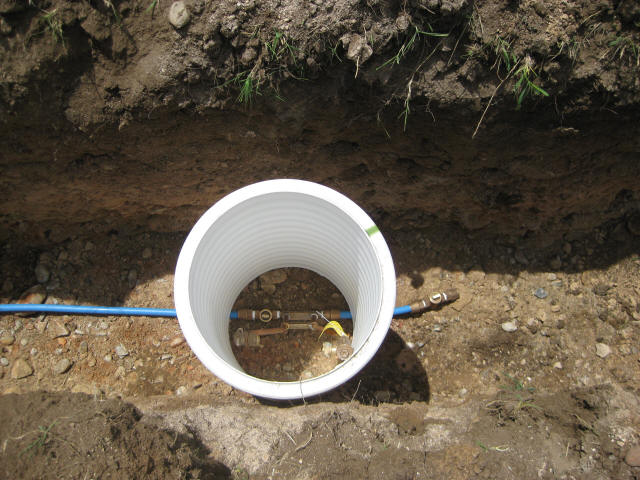
About mid way between the curb and cabin we inserted a main disconnect valve and an assembly for the water meter. We purchased this from the city water department to make sure we had the fittings that matched their meter. The water line was buried 4-5 ft. Min depths for utilities will depend on the frost line in your area. We used a large plastic tube to keep out dirt and allow access to the meter. It is recommended you put some gravel under the disconnect values to give water a place to drain as these valves are a stop and waste type disconnect.
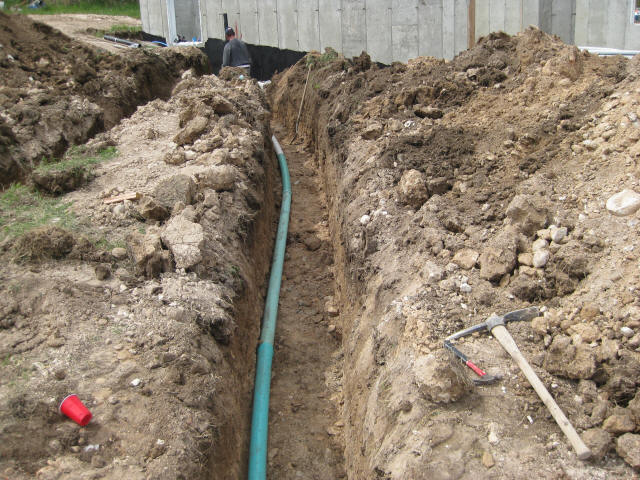
Installing a sewer line is a similar exercise. We used 4" gasketed drain pipe from the cabin to the curb. We started at the curb and worked our way to the cabin laying sewer pipe. You should check slope as you lay the pipe to make sure you have a minimum pitch of 1/4" per foot. You must also make sure the sewer line is laid below the frost depth.
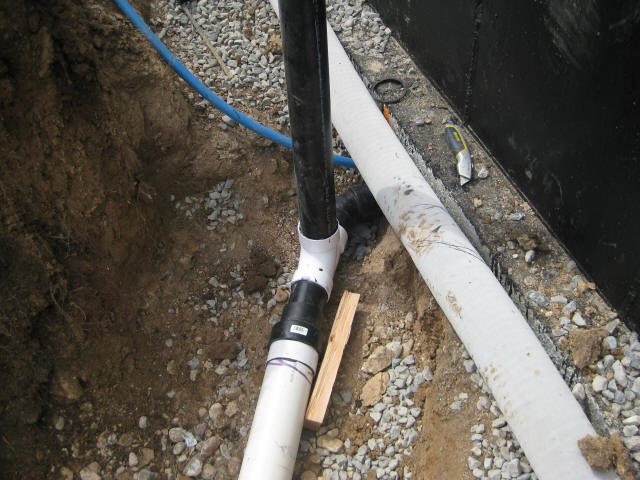
You must insert a main sewer line clean-out on the outside of the cabin. Technically this vertical stack should have been PVC pipe and not ABS as you see in the picture above. ABS is not rated for UV light exposure. Also, we intermingled a PVC T fitting in here which is not recommended. You should only make one transition from ABS to PVC. We ended up with what you see above because we were short a few items and the local hardware store had a very limited selection of fittings.
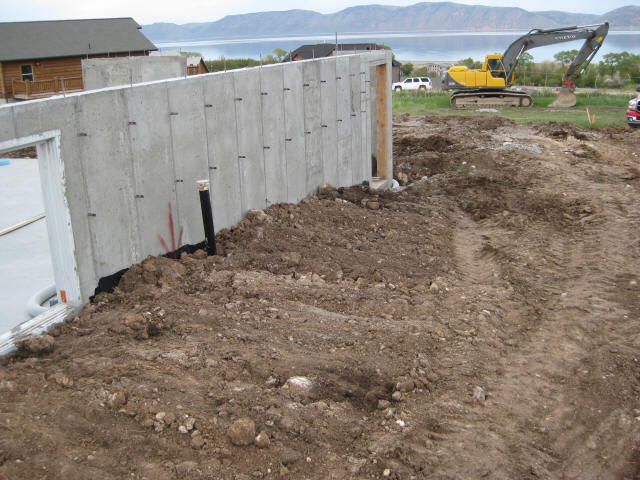
Finished product with water and sewer lines installed. The electrical main was installed later in the project and since it only had to be down 2 ft we could run it over the top of these utilities. See the electrical section for more details on that.
Back to top - Installing Water and Sewer Lines