Canned Food Rotator System - Continued
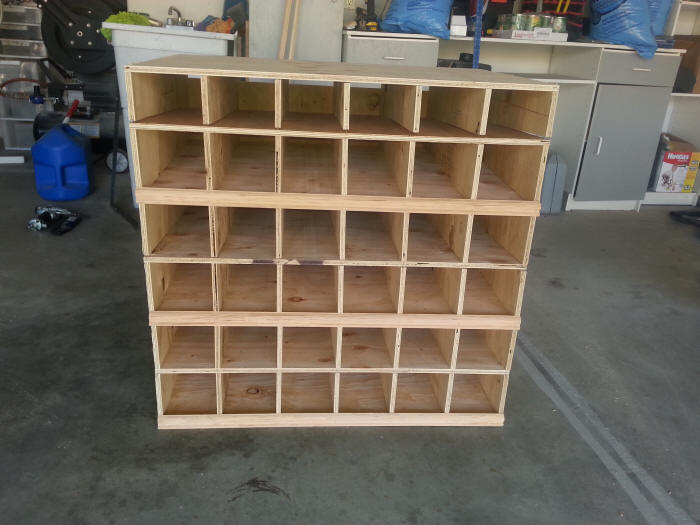
The next step in building your canned food rotation system is to space out the vertical pieces of plywood that were just cut as shown below. Measure the depth of each slot and cut shelves to fit.
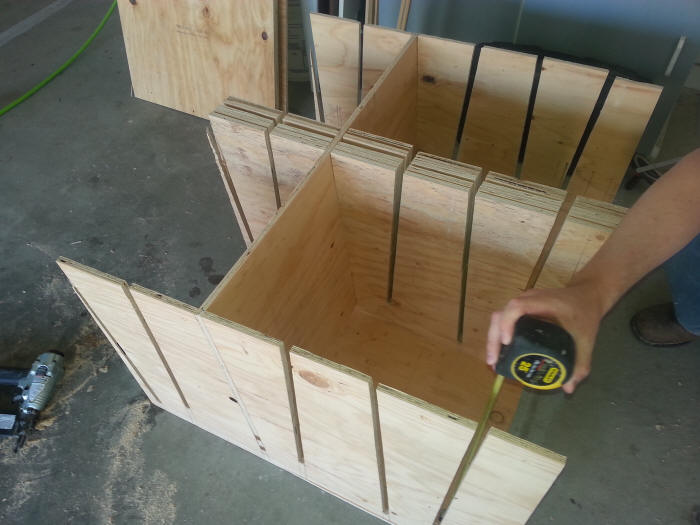
It helps to cuts some 2x4 blocks as spacers to hold everything in place and then use a finish nailer to tack all the shelving together. Wood glue would probably work fine as well but may take some patience.
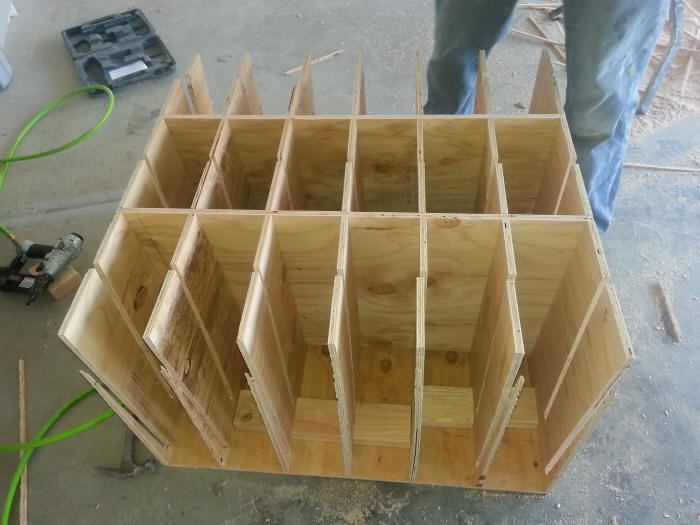
Continue to nail all of the shelves in place. At some point you'll flip the entire can organizer over and nail through the back piece as well.
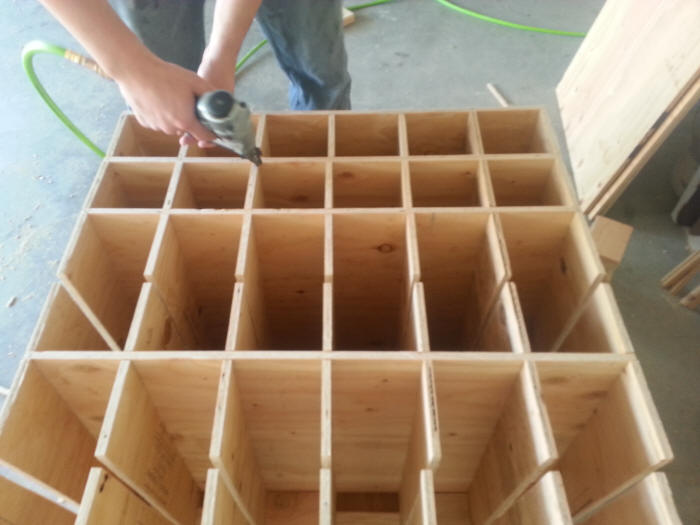
Once all of the shelves had been installed and nailed, I took a piece of wood trim and nailed to the front of each can food bin to create a lip to hold the cans from rolling out.
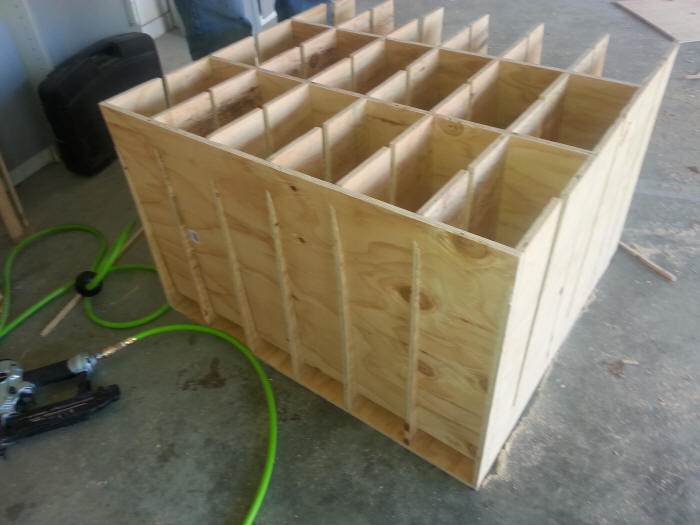
This is a side view of the canned food rotator system.

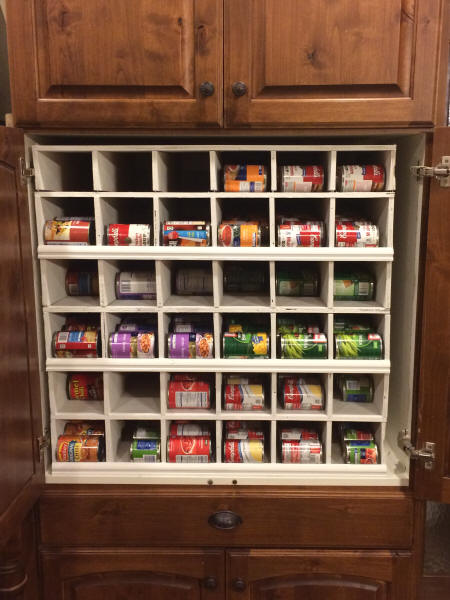
After that I spray painted the can food organizer white and put it in the kitchen. In total the project took me 2-3 hrs plus some time to let the paint dry. It turned out pretty slick!
Back to Page 1 - Make Your Own Food Can Rotator System