How to Frame a Roof
Prebuilt trusses are standard in most new construction projects these days and they are the basis for how to frame a roof. Companies that make trusses can take your set of plans and give you a bid for custom trusses for your cabin or house. Once you get a pile of trusses dropped off at the job site, you might still ask, well how do I frame the roof and how do I get the trusses in place?
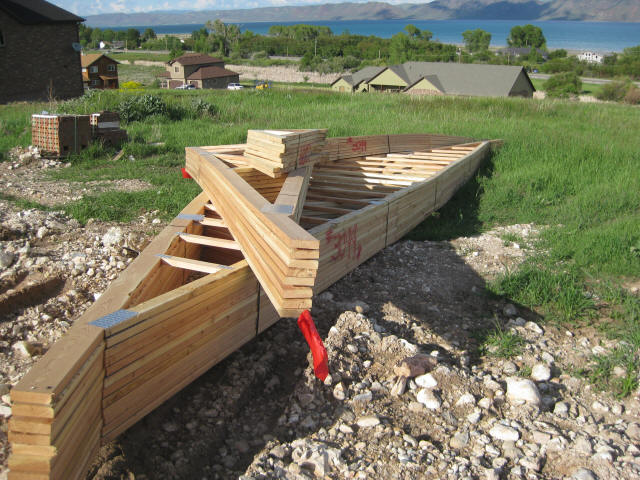
Here's our stack of trusses that were delivered for the cabin. They couldn't deliver very close to the cabin because it was so muddy. We later ended up hooking a tow strap up to a truck and dragging the pile of trusses to the cabin about 100 yards away.
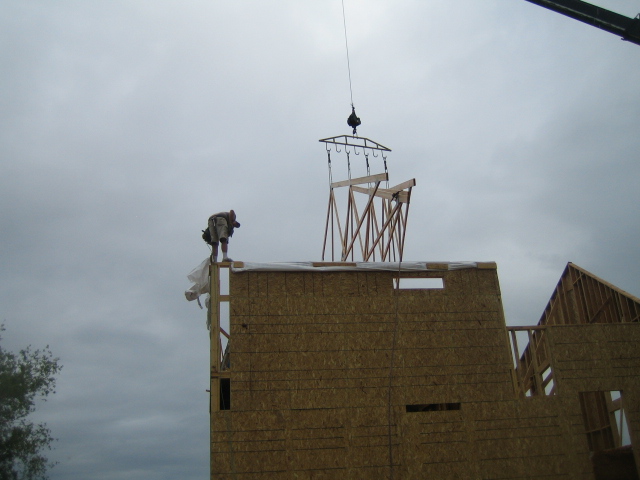
The key to how to frame a roof, without killing yourself, is a crane. A crane is shown above hoisting our trusses in place. With a person on each wall, the trusses are nailed off one at a time. It is a good idea to get up on the walls and mark out the position of each truss on the header plates before you get lifting. That way framing the roof will go quicker and the crane won't have to be there so long.
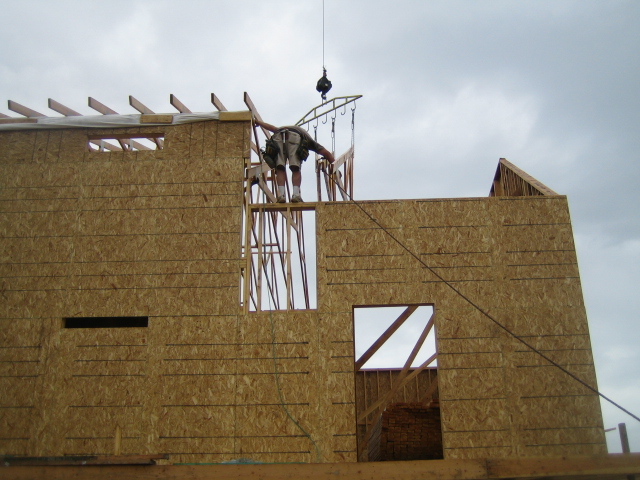
Scissor trusses for a vaulted ceiling were put on the front half of the cabin for the great room. The back half of the cabin over the bedrooms had standard flat trusses.
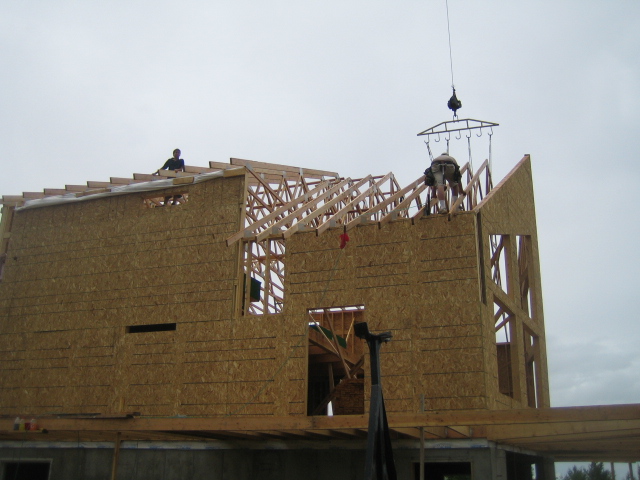
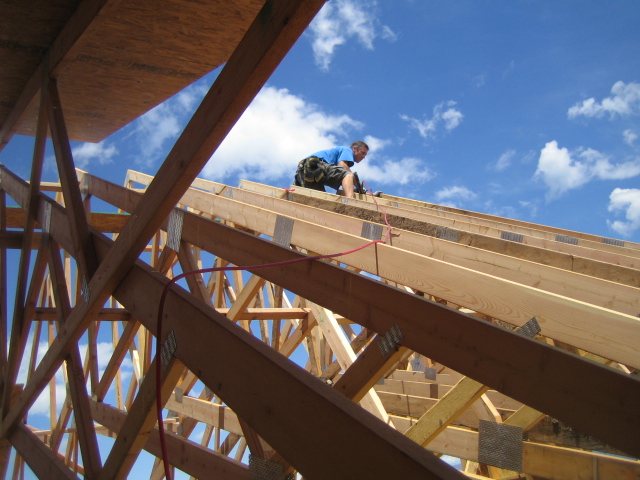
Almost complete with framing the roof...cross members were nailed along the way between the trusses to give them some stability.
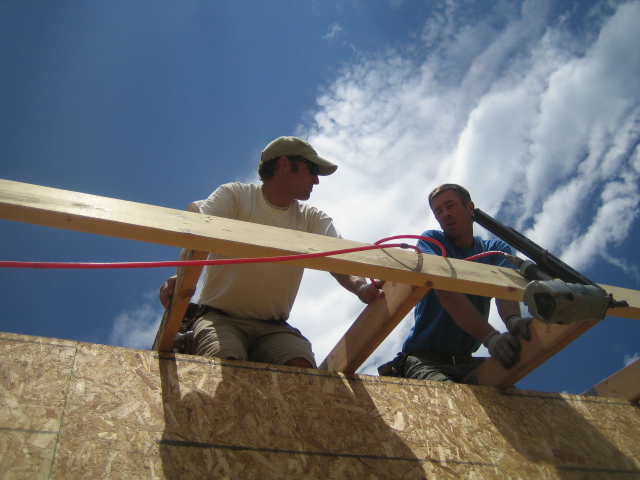
Hanging over the edge to install the 2x8 facia boards.
Nailing cross members in place.

Once the trusses are installed, the next step to framing the roof is to install 5/8" OSB sheeting. It helped to have the crane lift the bunks of OSB to the second floor before we installed the trusses.
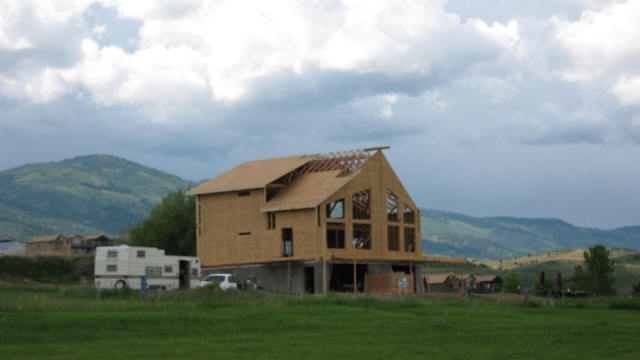
Roof sheathing is almost complete and that's how you frame a roof.
Framing Second Floor (Rough Cut Beams/Floor)