STEP 2: Installing Stone or Tile Stair Risers
The next step is to prep for the stone or tile risers. Cut a piece of 1/4" cement backerboard, such as Hardie Backer, the size of your existing riser. This will give the stacked stone or tile a good surface to adhere to. Apply a generous amount of construction adhesive to the backerboard. Use a quality adhesive such as Loctite PL Premium 3x construction adhesive.
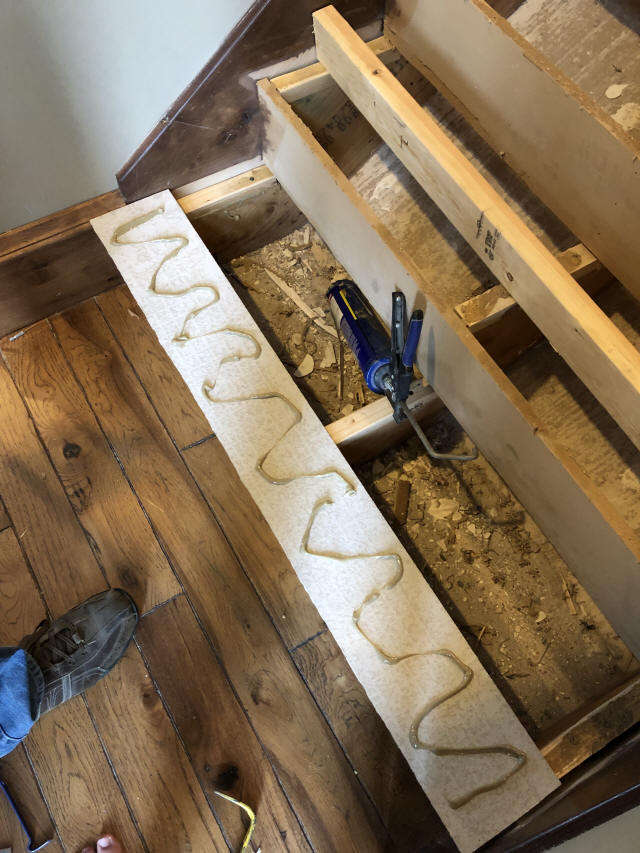
After applying the construction glue, screw the backerboard to the stair treads using backerboard screws.
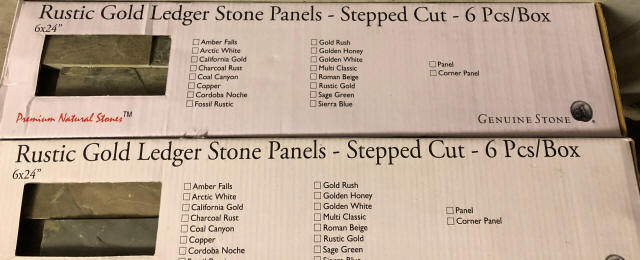
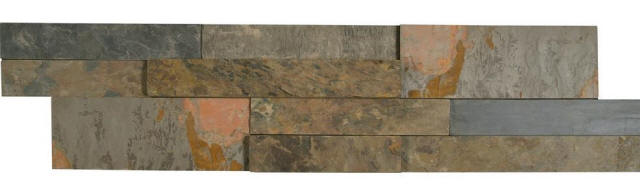
We decided to use a stacked slate ledger stone for our risers. Purchased at Home Depot for $2.49/sq ft it comes in in pieces that are 6 in x 24 in. We had to buy 10 cases online for a total of 60 sq ft at just under $150. The stone was called Gold Rush Ledger Panel - Natural Slate Wall Tile. We have a pretty long staircase with 17 risers and still only used 6 of the 10 cases of stacked stone. An interesting comparision, unfinished red oak wood stair risers would have cost me $16.00 each so 17 of those would have put my total at $272 for wood risers. The hardieboard, screws, and thinset add some cost but the stone riser option was still cheaper than hardwood.
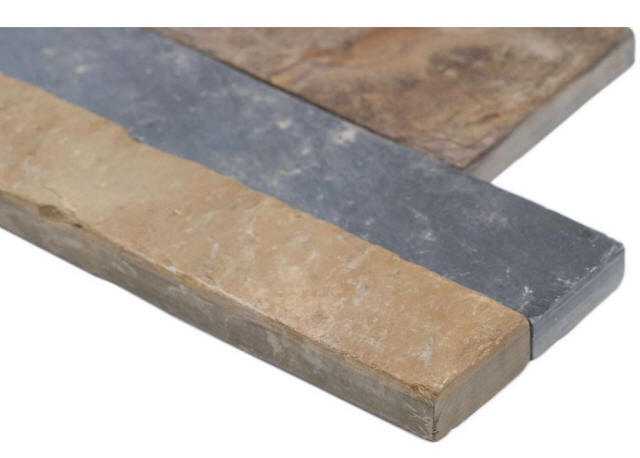
The thickness of this stone varies from 1/4" to 1" with most of the stone being 1/2" to 3/4" thick.
For a staircase 48" or so wide the ledger stone works great with very few cuts being required. The height matched almost perfect for the height of the riser once I put a small spacer or two between the tread and ledger stone. For width, using two pieces covered the riser perfectly once the L-shaped ends were trimmed off with a tile saw.
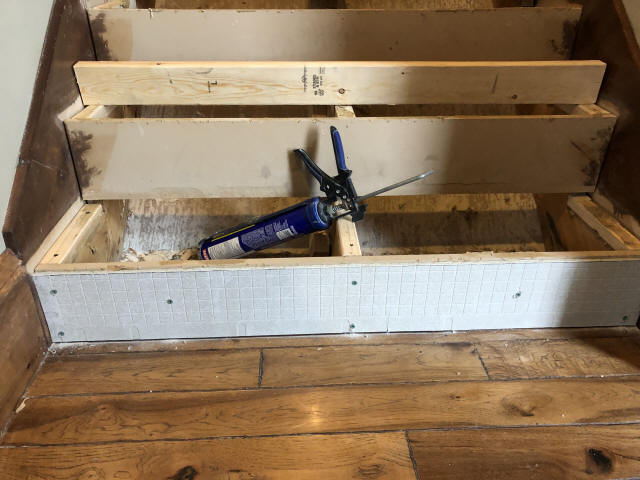
Once the ledger stone is cut and dryfit to make sure everything looks good, mix up some Polymer-Encriched Thin-Set Mortar and back-butter the stones as shown below.
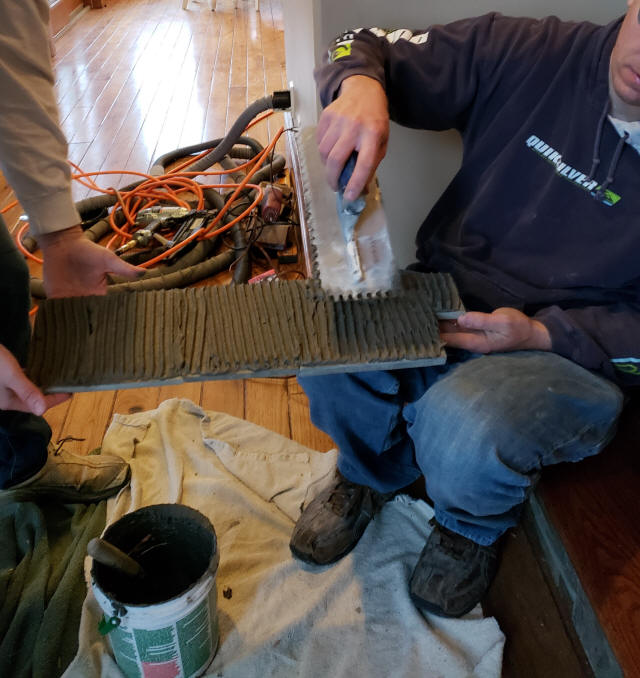
Use a 1/4" x 3/8" notched trowel or larger to cover the stone. It would be better to use a larger notched trowel such as 1/2" x 1/2" but to minimize the thickness of the riser (stone+backerboard+wood riser) I went a little smaller.
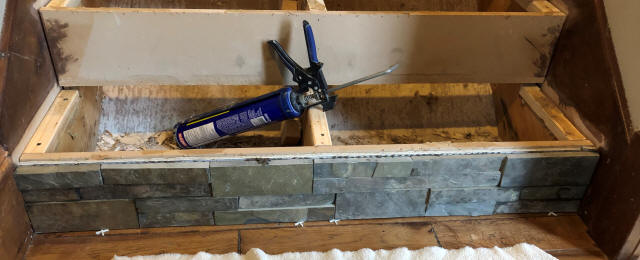
Press the stone firmly against the backerboard and insert some tile spacers underneath the stone. Traffic on the stairs will create some movement on the treads so it is important to have a small gap between the stone and stair treads
STEP 1: Removing Carpeted Stairs
STEP 2: Installing Stone Stair Risers
STEP 3: Staining and Installing Hardwood Stair Treads