How to Install Shower Backerboard
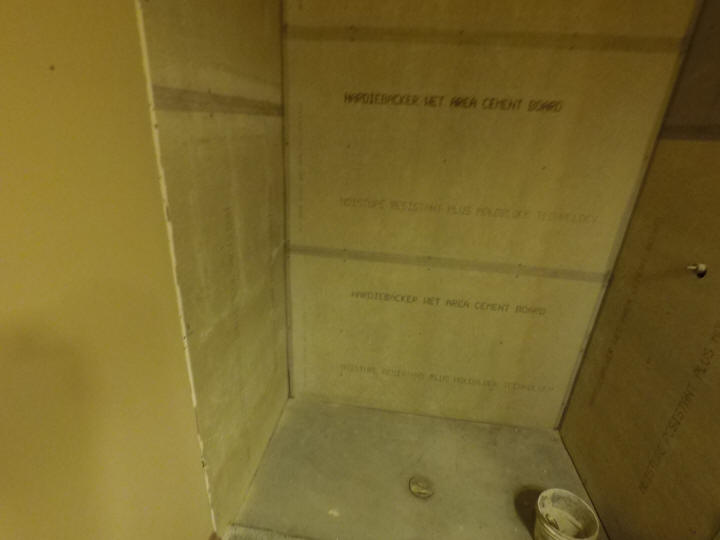
After the second mud layer is applied to the shower pan the next step is to install cement backerboard. There are several brands available but my preference is 1/2" Hardiebacker Fiber Cement Backer Board. If you are butting the backerboard up against 1/2" drywall simplifies transitions between the wall boards.
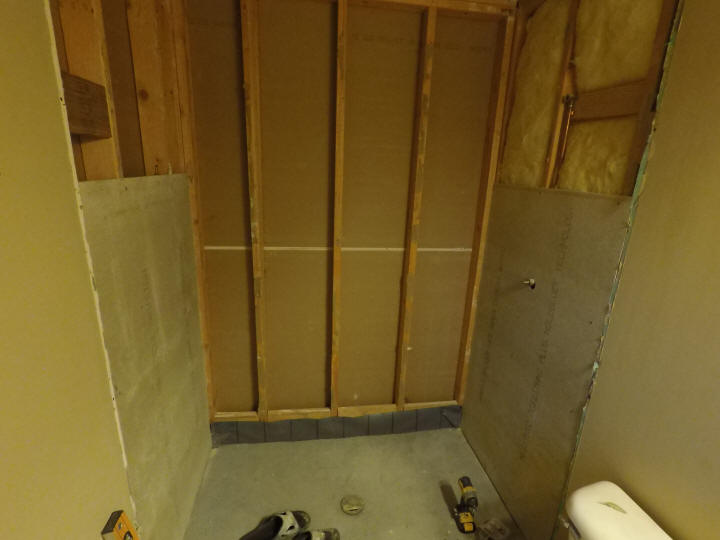
Cement backerboard comes in 3' x 5' sheets as that's the length of a standard size bathtub. You can score and snap the backerboard using a utility knife or carbide tip blade but I'll often use a 4" grinder with diamond wheel to speed up the process and cut the backerboard to size. The grinder approach makes a lot of dust so only do this if you are cutting backboard outdoors. Holes for shower spouts and valves can be made using a standard hole saw. When installing the backerboard leave a 1/4" gap at the floor. Cement backerboard should be attached to the wall using cement board screws. These are zinc plated screws that are corrosion resistant unlike regular drywall screws. These screws also have a self-drilling feature which allows the head to sink into the Hardieboard and be flush with the backerboard.


Here's one brand of cement board screw that can be found at Lowes.
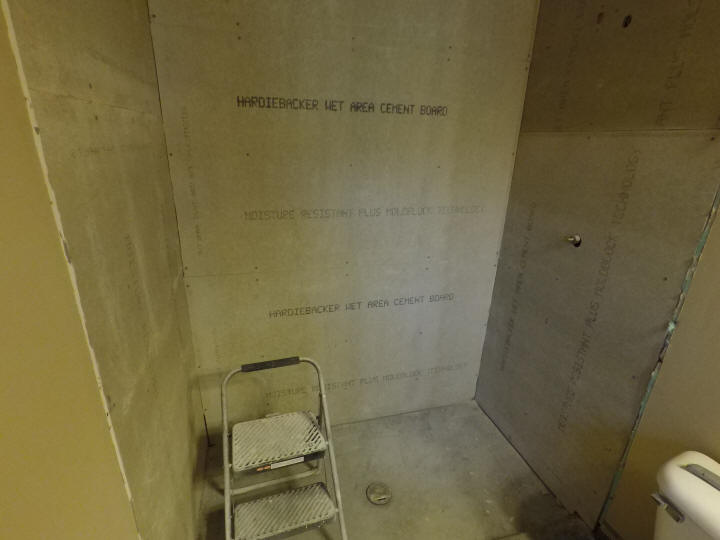
Continue installing the Hardie backerboard until the shower is complete. Leave a 1/8" gap between the backerboard. I take the backerboard clear to the ceiling but that's a personal preference.
Sealing Backerboard Seams
Once all the backerboard is installed, all joints should be filled with thinset mortar. Embed 2” wide high-strength alkali-resistant glass fiber mesh in the mortar and level with a putty knife or trowel.
Alkali tape applied to all Hardieboard seams.
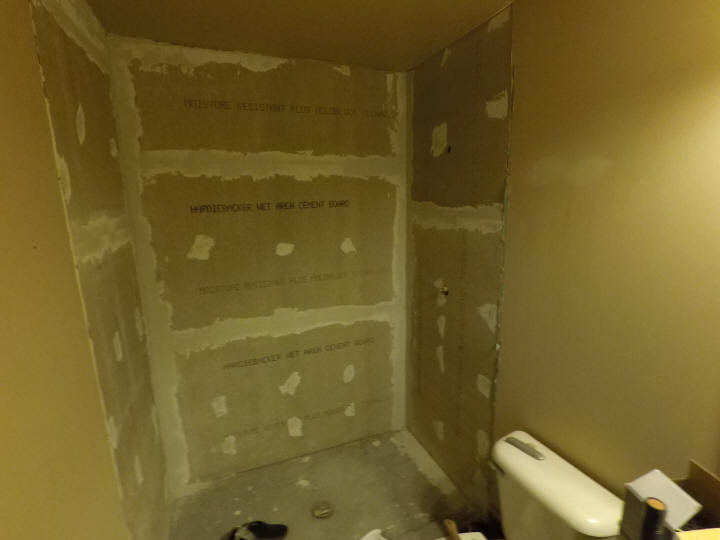
All seams have been taped and filled with thinset mortar. Coat screw holes as well with thinset.
The picture above shows a shower pan curb constructed out of three 2x4s. The next step is to put down a layer of felt paper and then cover the floor with metal lathe as shown above. Cover the entire floor with the metal lathe, overlapping any seams. Staple the lathe to the floor. The metal lathe gives the pre-slope mud deck something to grab onto. The felt paper prevents the wood subfloor from wicking the moisture from the deck mud and causing it to dry too fast. When this happens the cement will not cure properly and it will weaken the pre-slope deck mud base.
How to Waterproof Shower Walls
Some may argue this waterproofing step is overkill but for all the effort these shower remodels take, this step is well worth it in my mind. Apply a coat of Redgard (Home Depot) or MAPEI Mapelastic Aquadefense (Lowes) waterproofing membrane to the cement backerboard. I have seen contractors use this waterproofing membrane over drywall and install tile on that which I'd never recommend but it is great stuff.
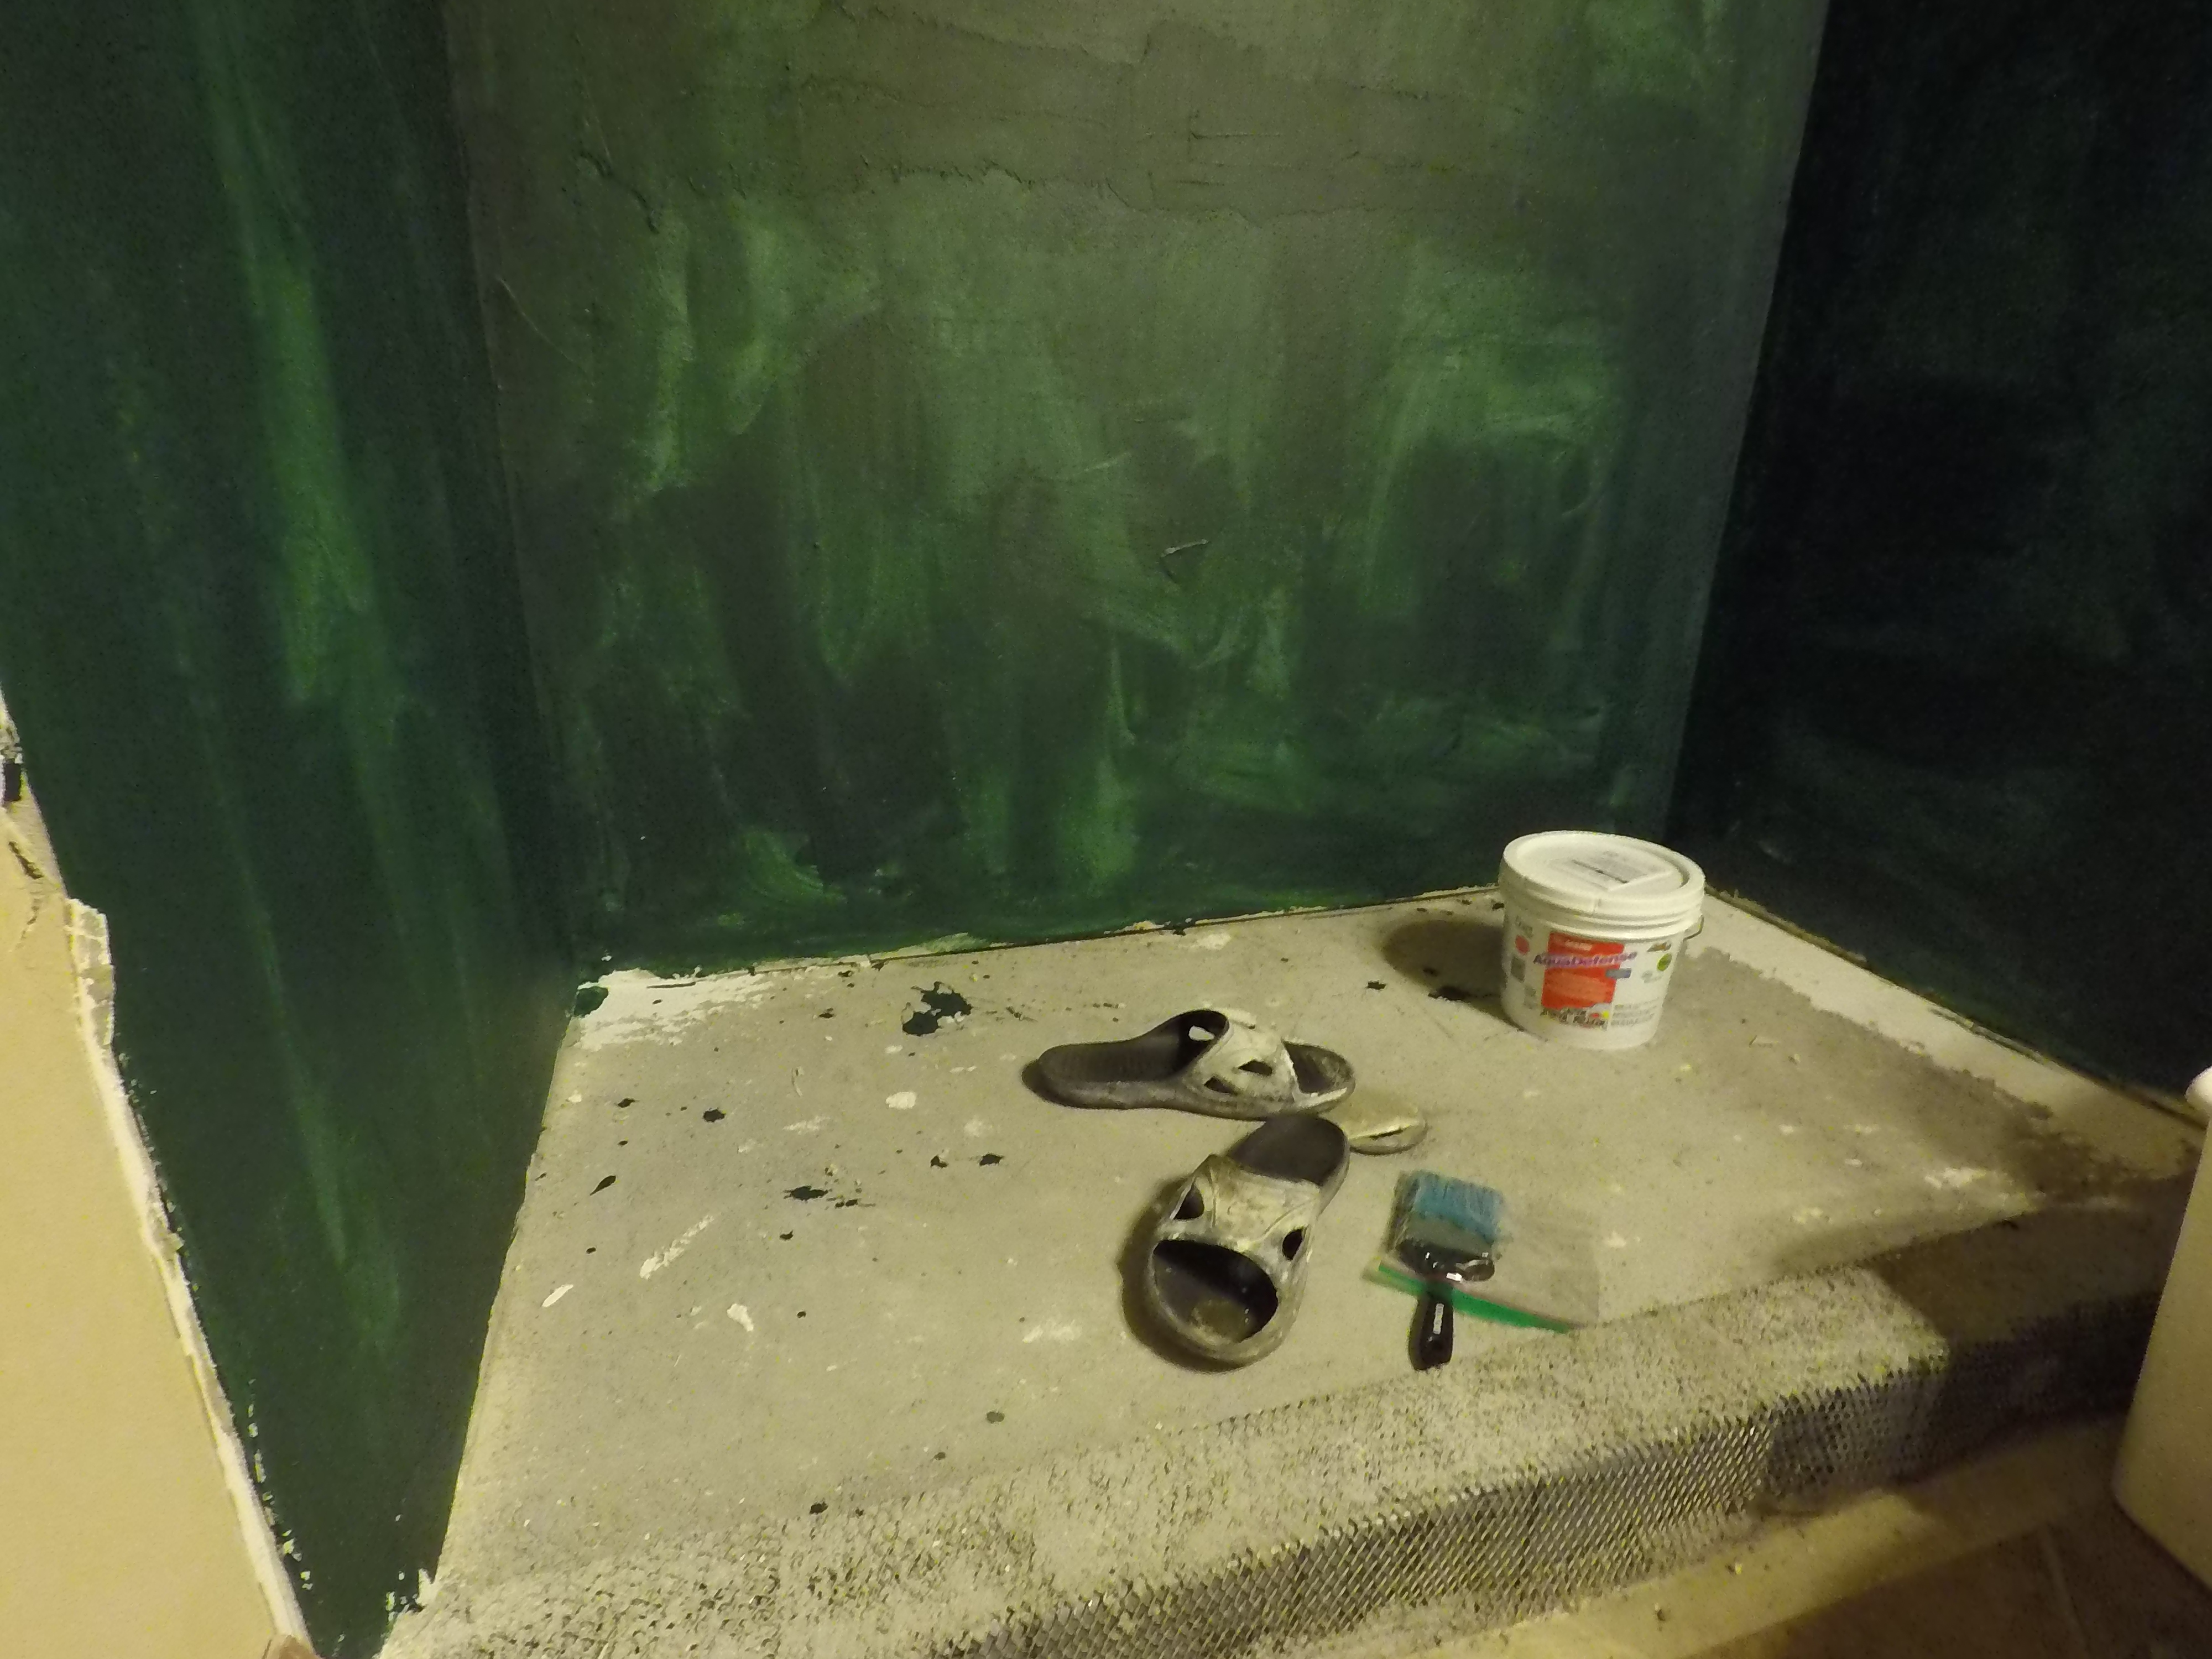
Apply waterproofing membrane with a brush or roller. The consistency is quite a bit thicker than paint so I've found a big cheap paint brush works pretty good.
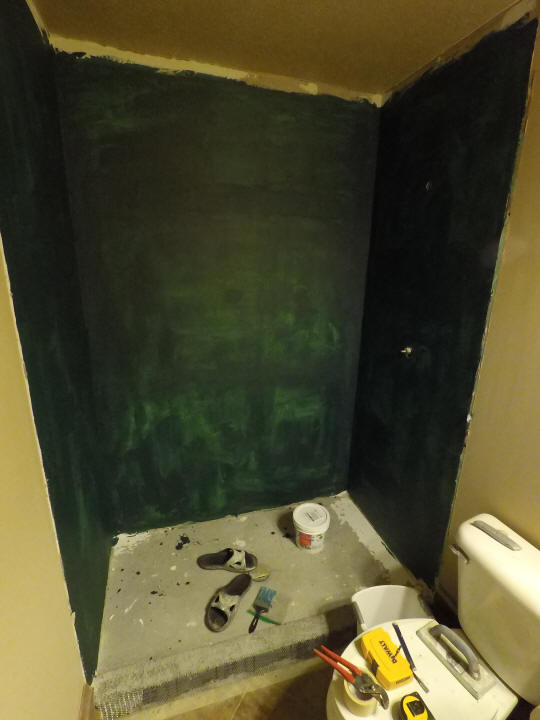
Waterproofing membrane in the shower is complete.
Step 2: How to Replace a Shower Drain
Step 3: How to Make Shower Deck Mud
Step 4: How to Build a Shower Floor 1 (Curb and Pre-slope)
Step 5: How to Build a Shower Floor 2 (Liner, Drain, Final Slope)
Step 6: How to Install Shower Backerboard
Step 7: How to Build a Waterproof Shower Bench
Step 8: How to Tile Shower Floor
Step 9: How to Tile and Grout Shower Walls