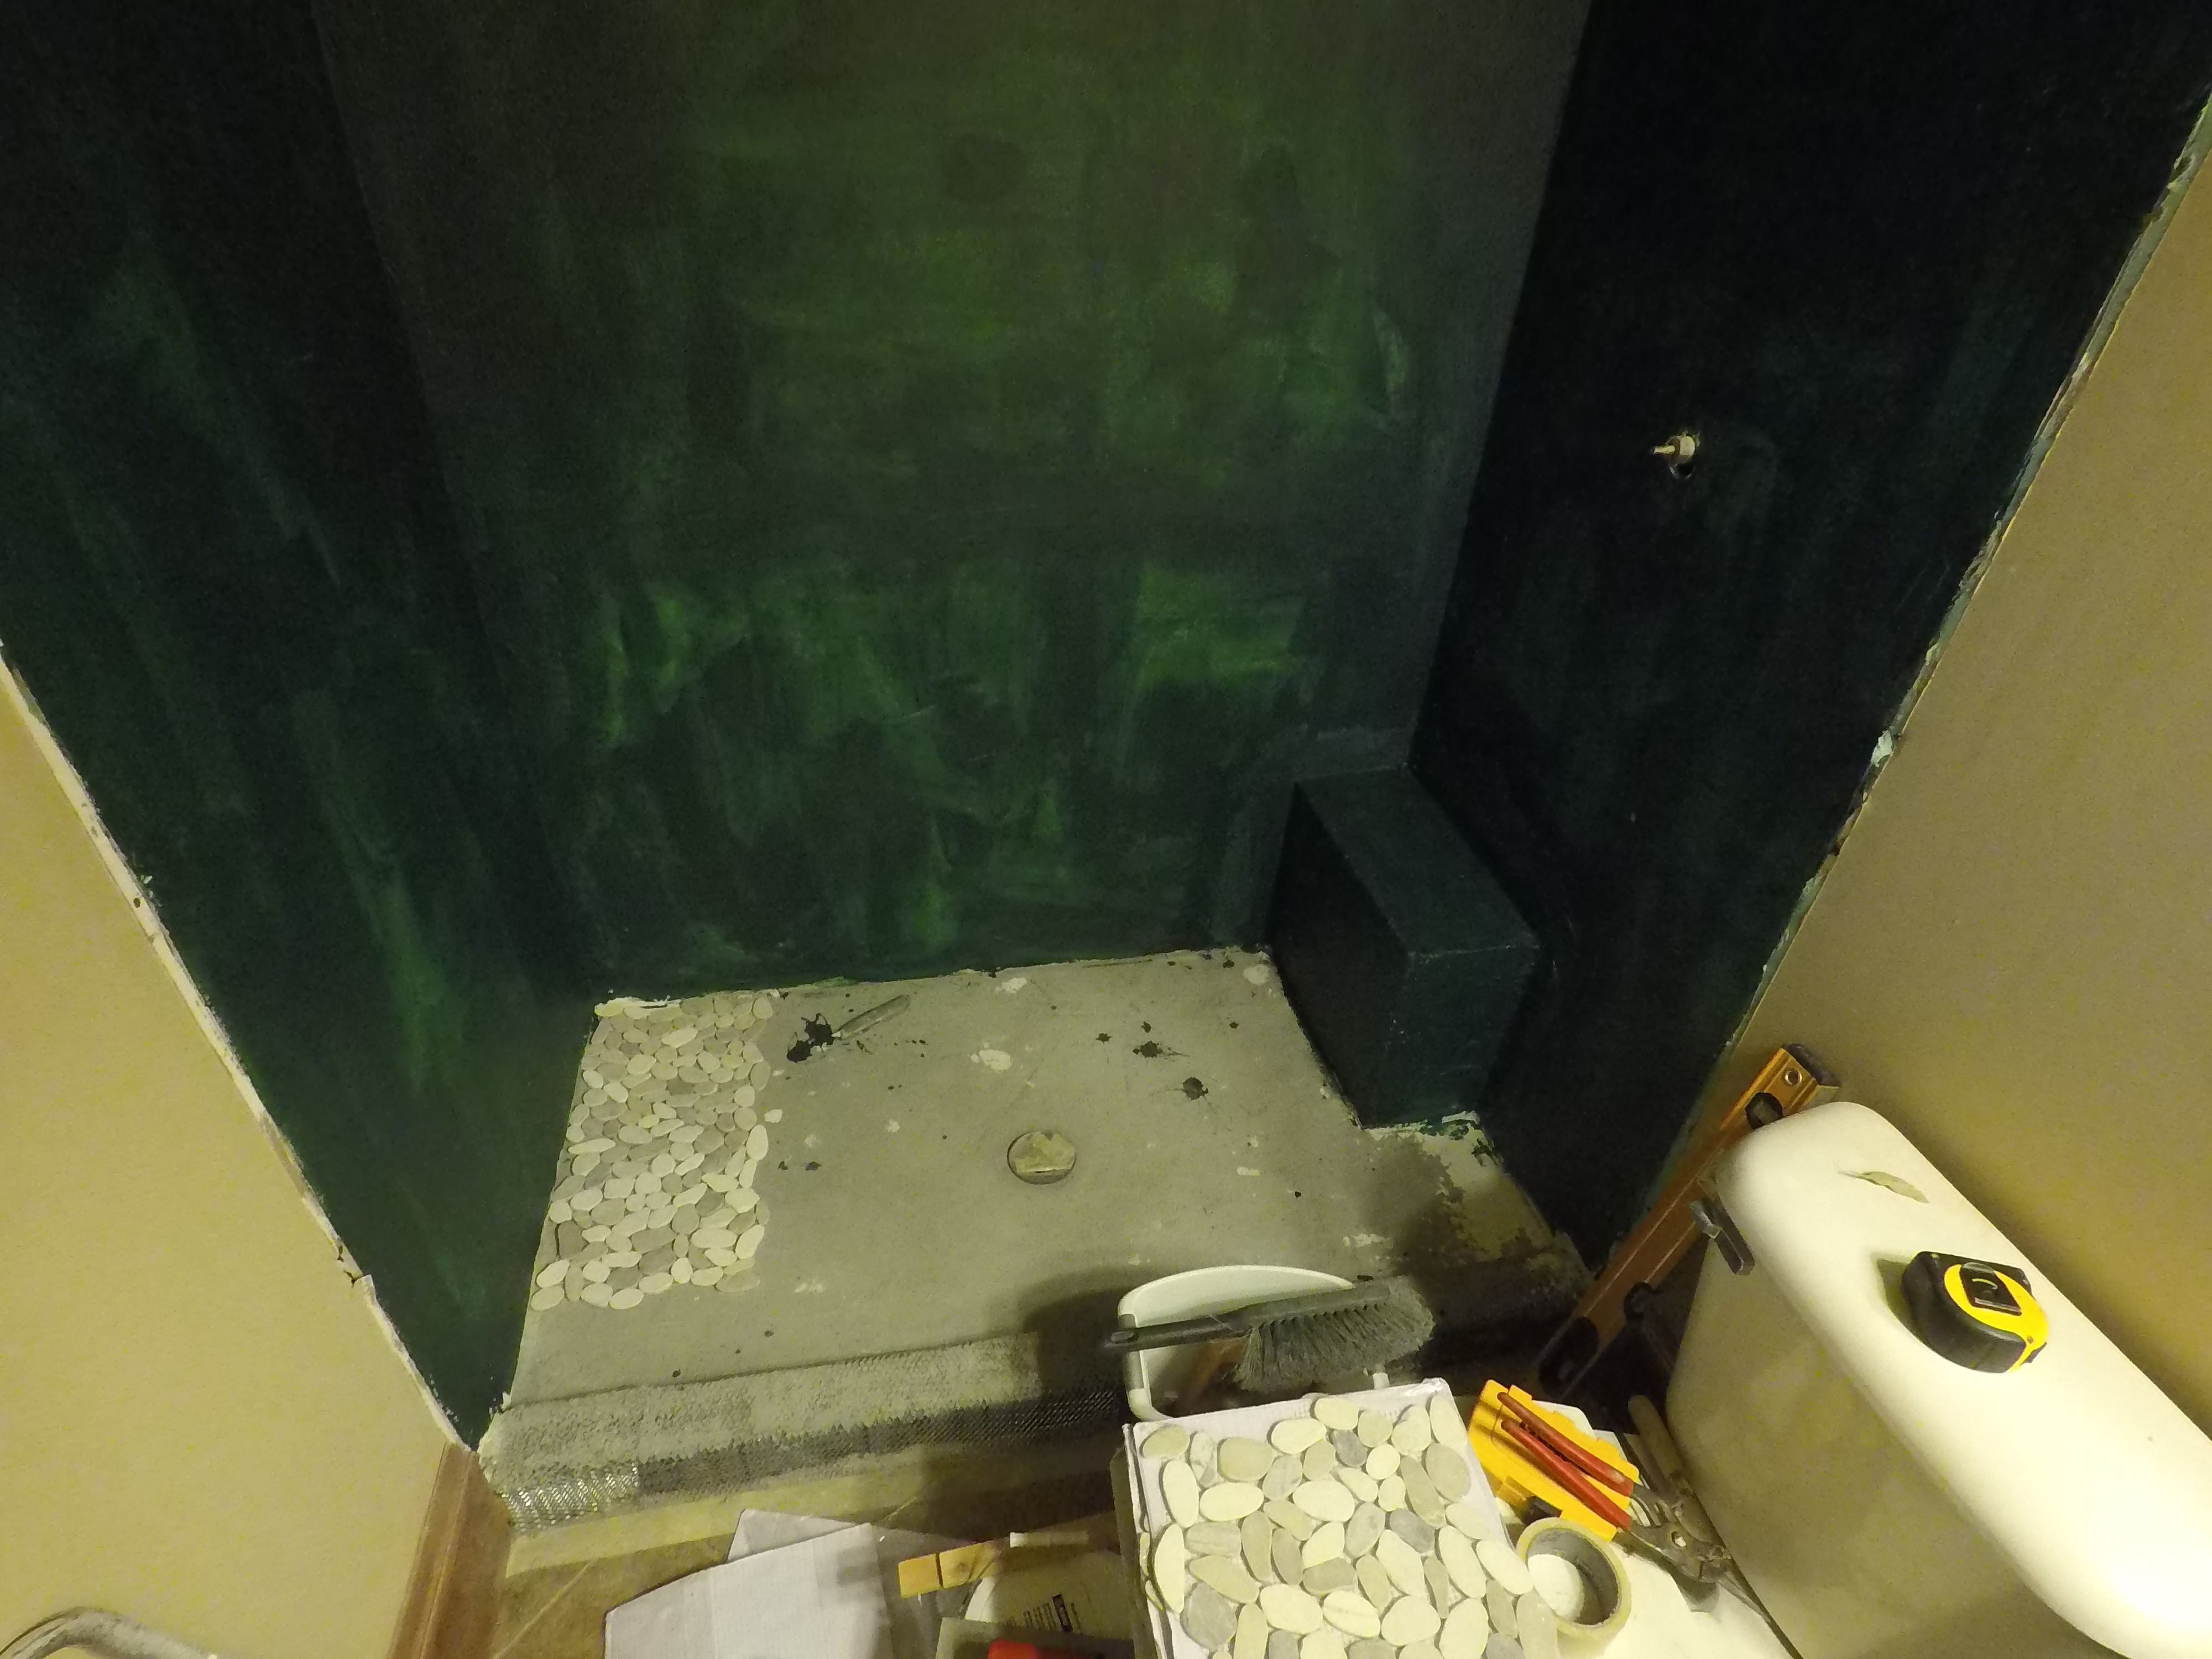
How to Tile Shower Floor
The hardest parts of the shower remodel are now complete. Now onto the tile. Smaller size tiles are typically selected for shower floors as you have the slope of the floor to deal with as well as working around the drain. This could present some troubles if you were trying to use 12" x 12" tiles for example. The nice thing is there are tons of options to choose from. I selected a pebble stone tile for the project below which came in 12" x 12" sheets but is flexible and works well for a shower floor.
Smaller size tile like this can be laid with a 3/8" x 1/4" notched trowel and thinset mortar. I prefer to use a polymer-enriched thinset mortar for all of my tile projects. The modified thinset is a bit more expensive but it provides a better bond and smoother consistency and stick for laying wall tile. Lowes/HD sell both white and grey colored thinset so select the color that shows the least on your tile. In this case I used a white thinset.
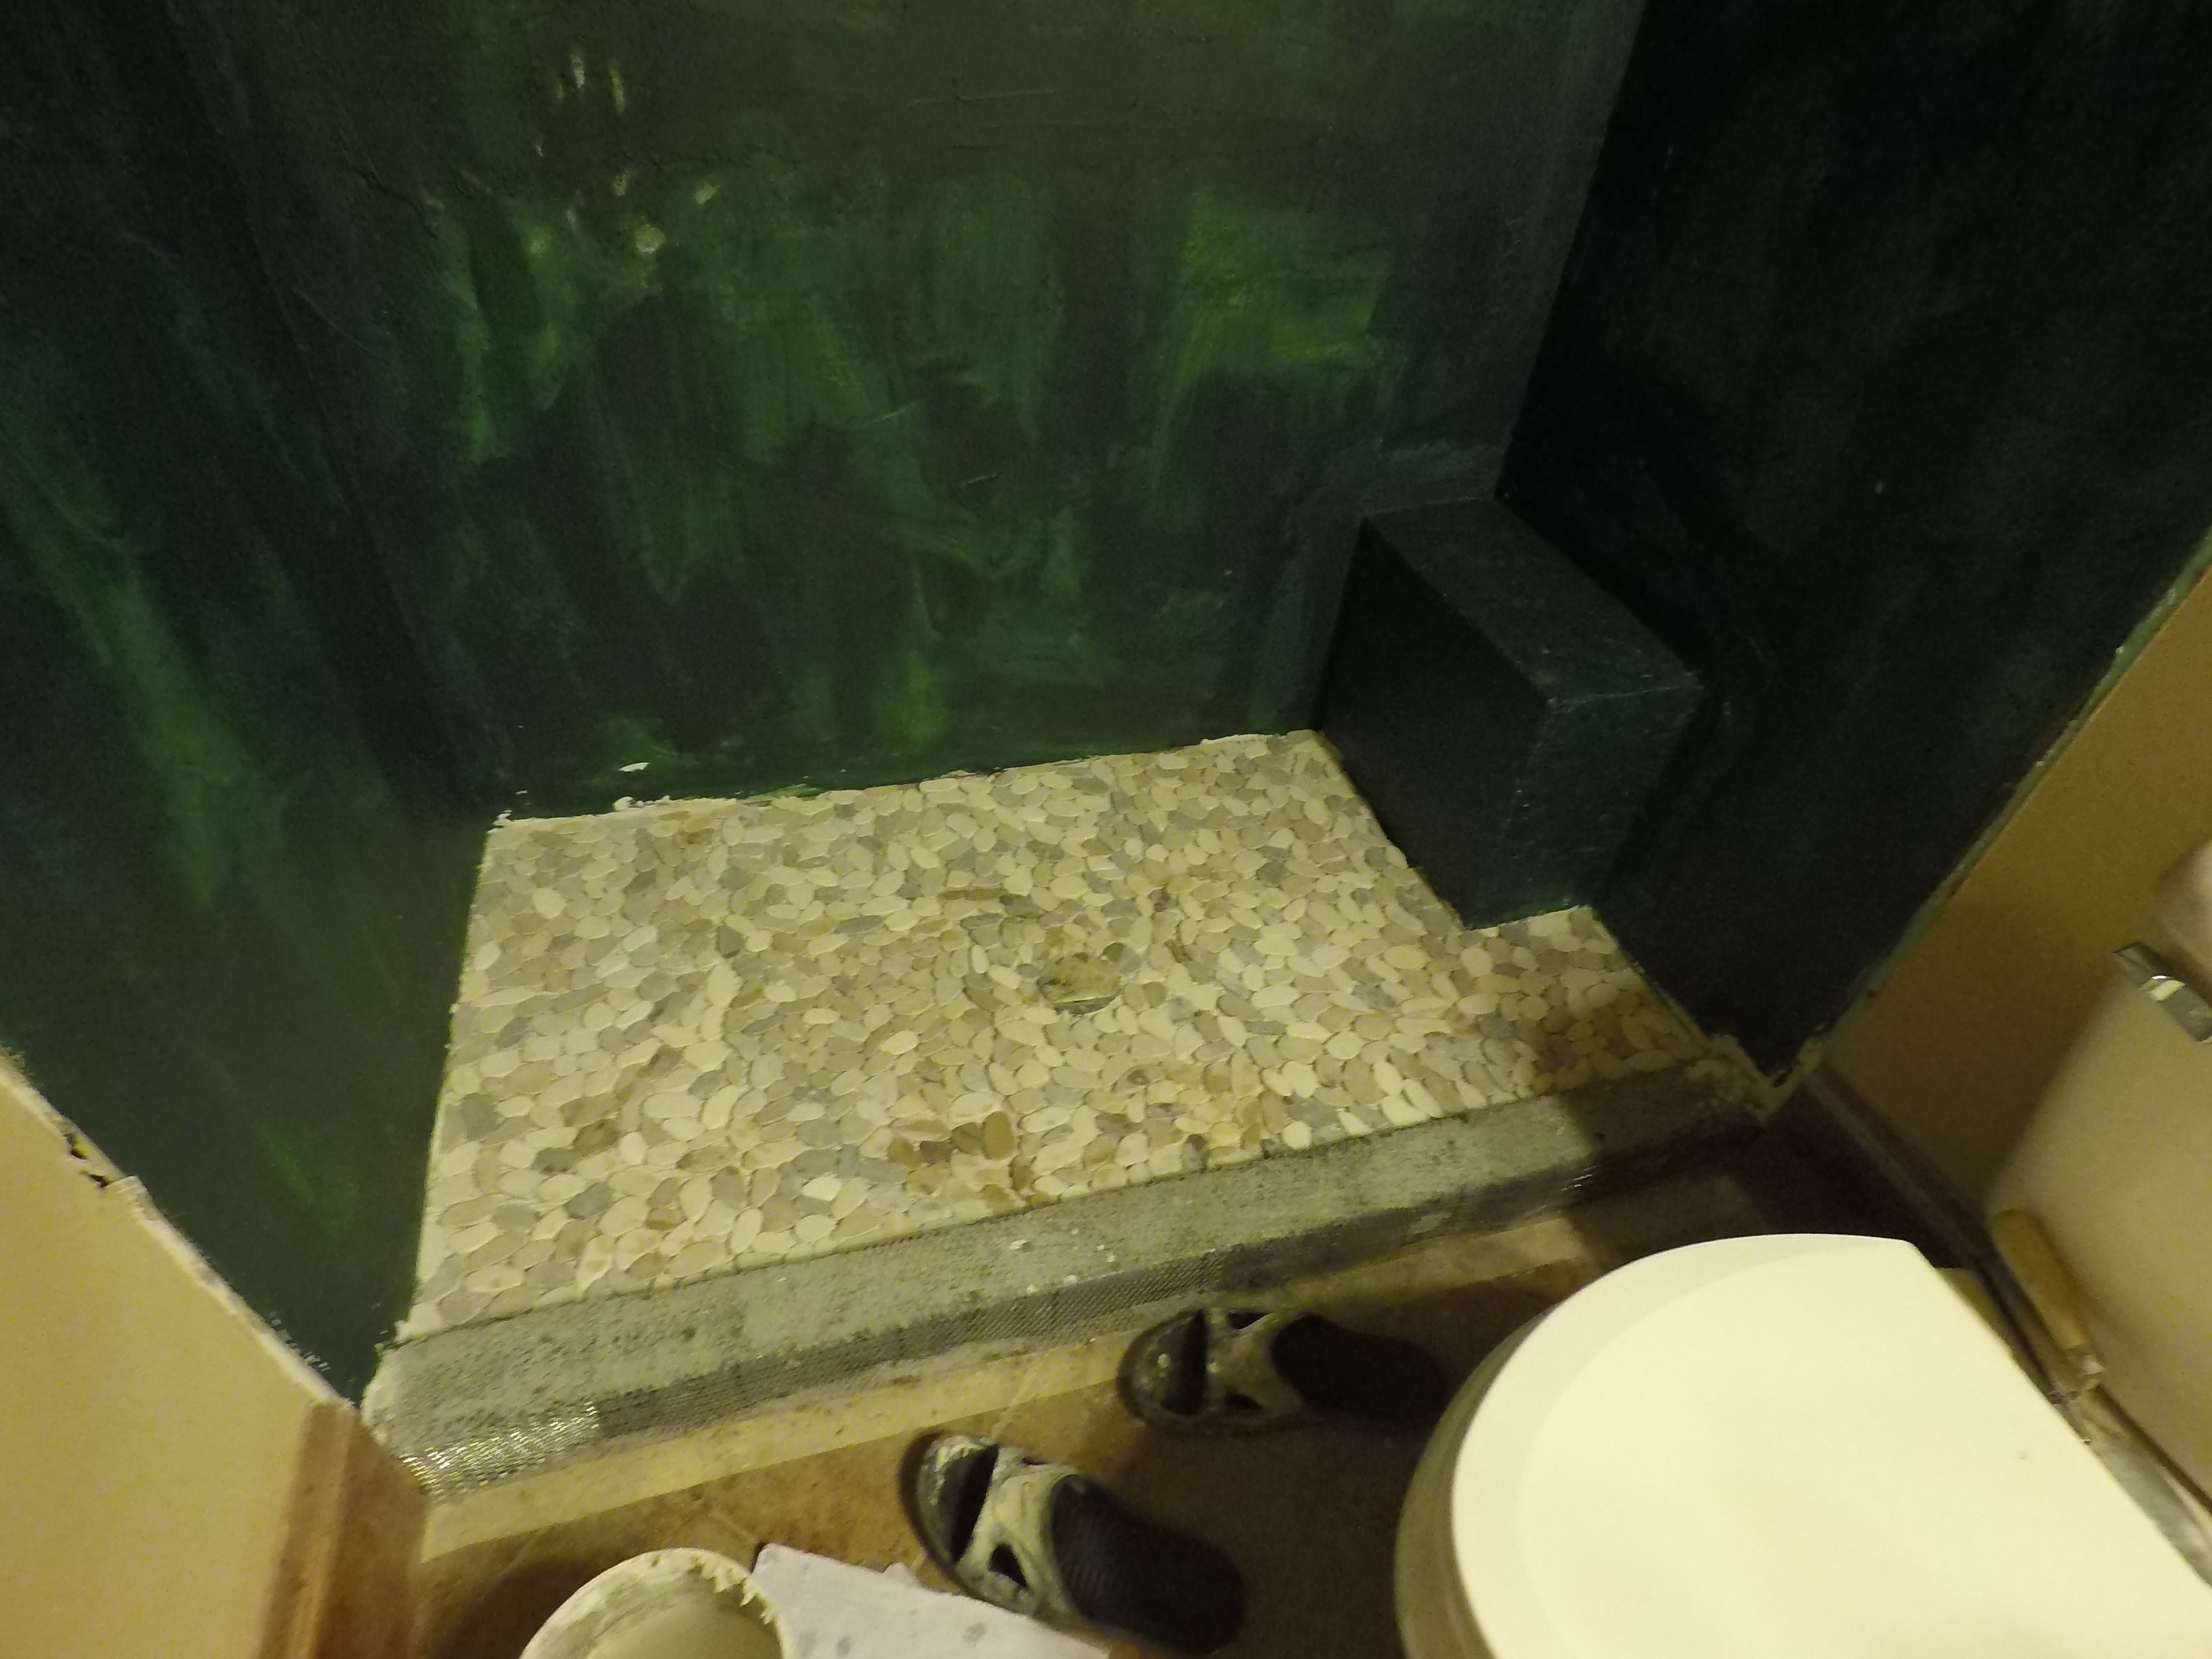
Work your way across the shower floor from one side to the other. Working around the shower drain is pretty easy with the pebble stone tile. You can just pop a few stones off the mat and cut around the drain with a knife. For other types of tile you'll need a tile saw or 4" grinder with diamond wheel. After the floor tile is all placed let it dry for 24 hrs.
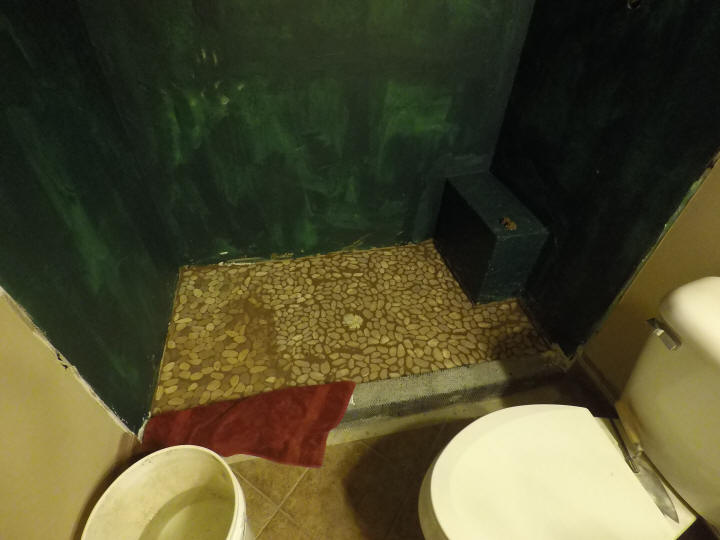
Apply a sanded grout to the floor tile with a rubber grout float. By the time you have grouted the floor it will be time to wipe the grout with a sponge and water. It will take several buckets of clean water and multiple rounds to get all the grout off the tile and have a clean floor.
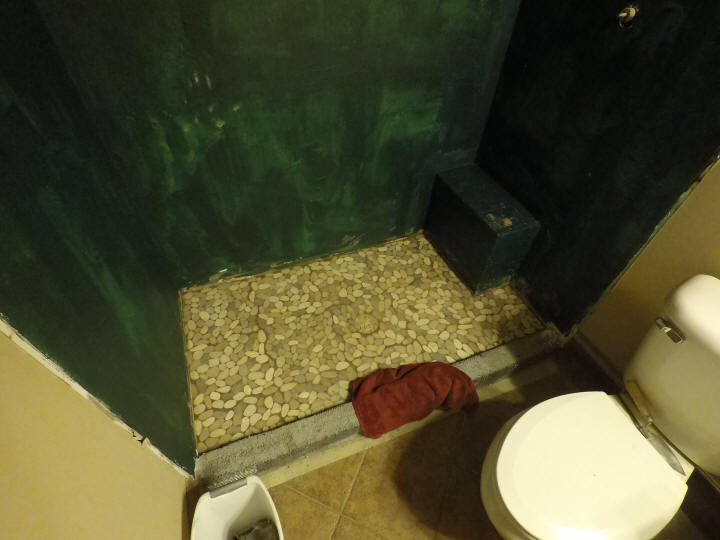
The shower tile floor is now complete.
Step 2: How to Replace a Shower Drain
Step 3: How to Make Shower Deck Mud
Step 4: How to Build a Shower Floor 1 (Curb and Pre-slope)
Step 5: How to Build a Shower Floor 2 (Liner, Drain, Final Slope)
Step 6: How to Install Shower Backerboard
Step 7: How to Build a Waterproof Shower Bench
Step 8: How to Tile Shower Floor
Step 9: How to Tile and Grout Shower Walls